
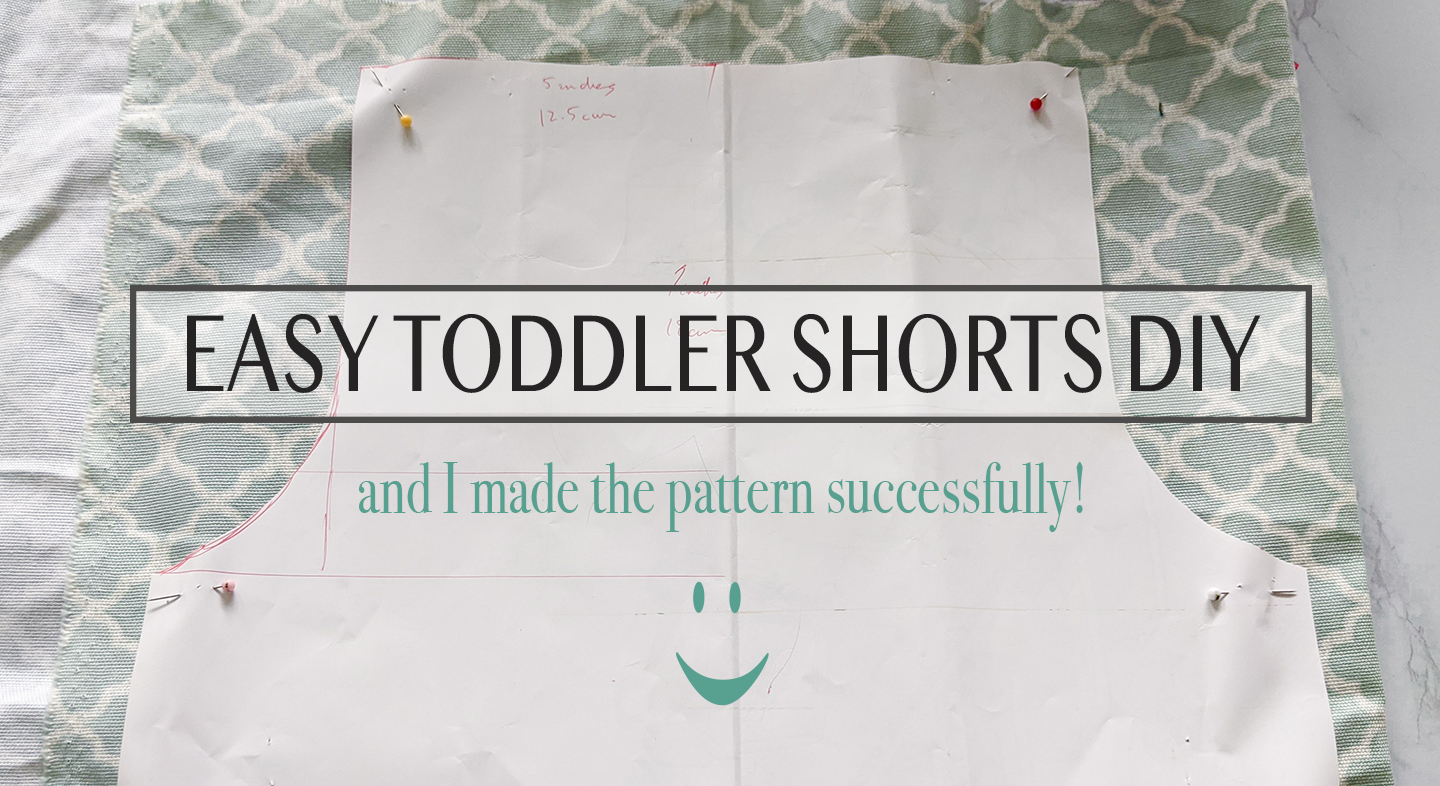
第一次嘗試做短褲 – 打版居然沒失敗!歐耶~
因為COVID-19疫情,天天窩在家裡…
不知不覺從冬天窩到了夏天呀!( ̄﹌ ̄)lll
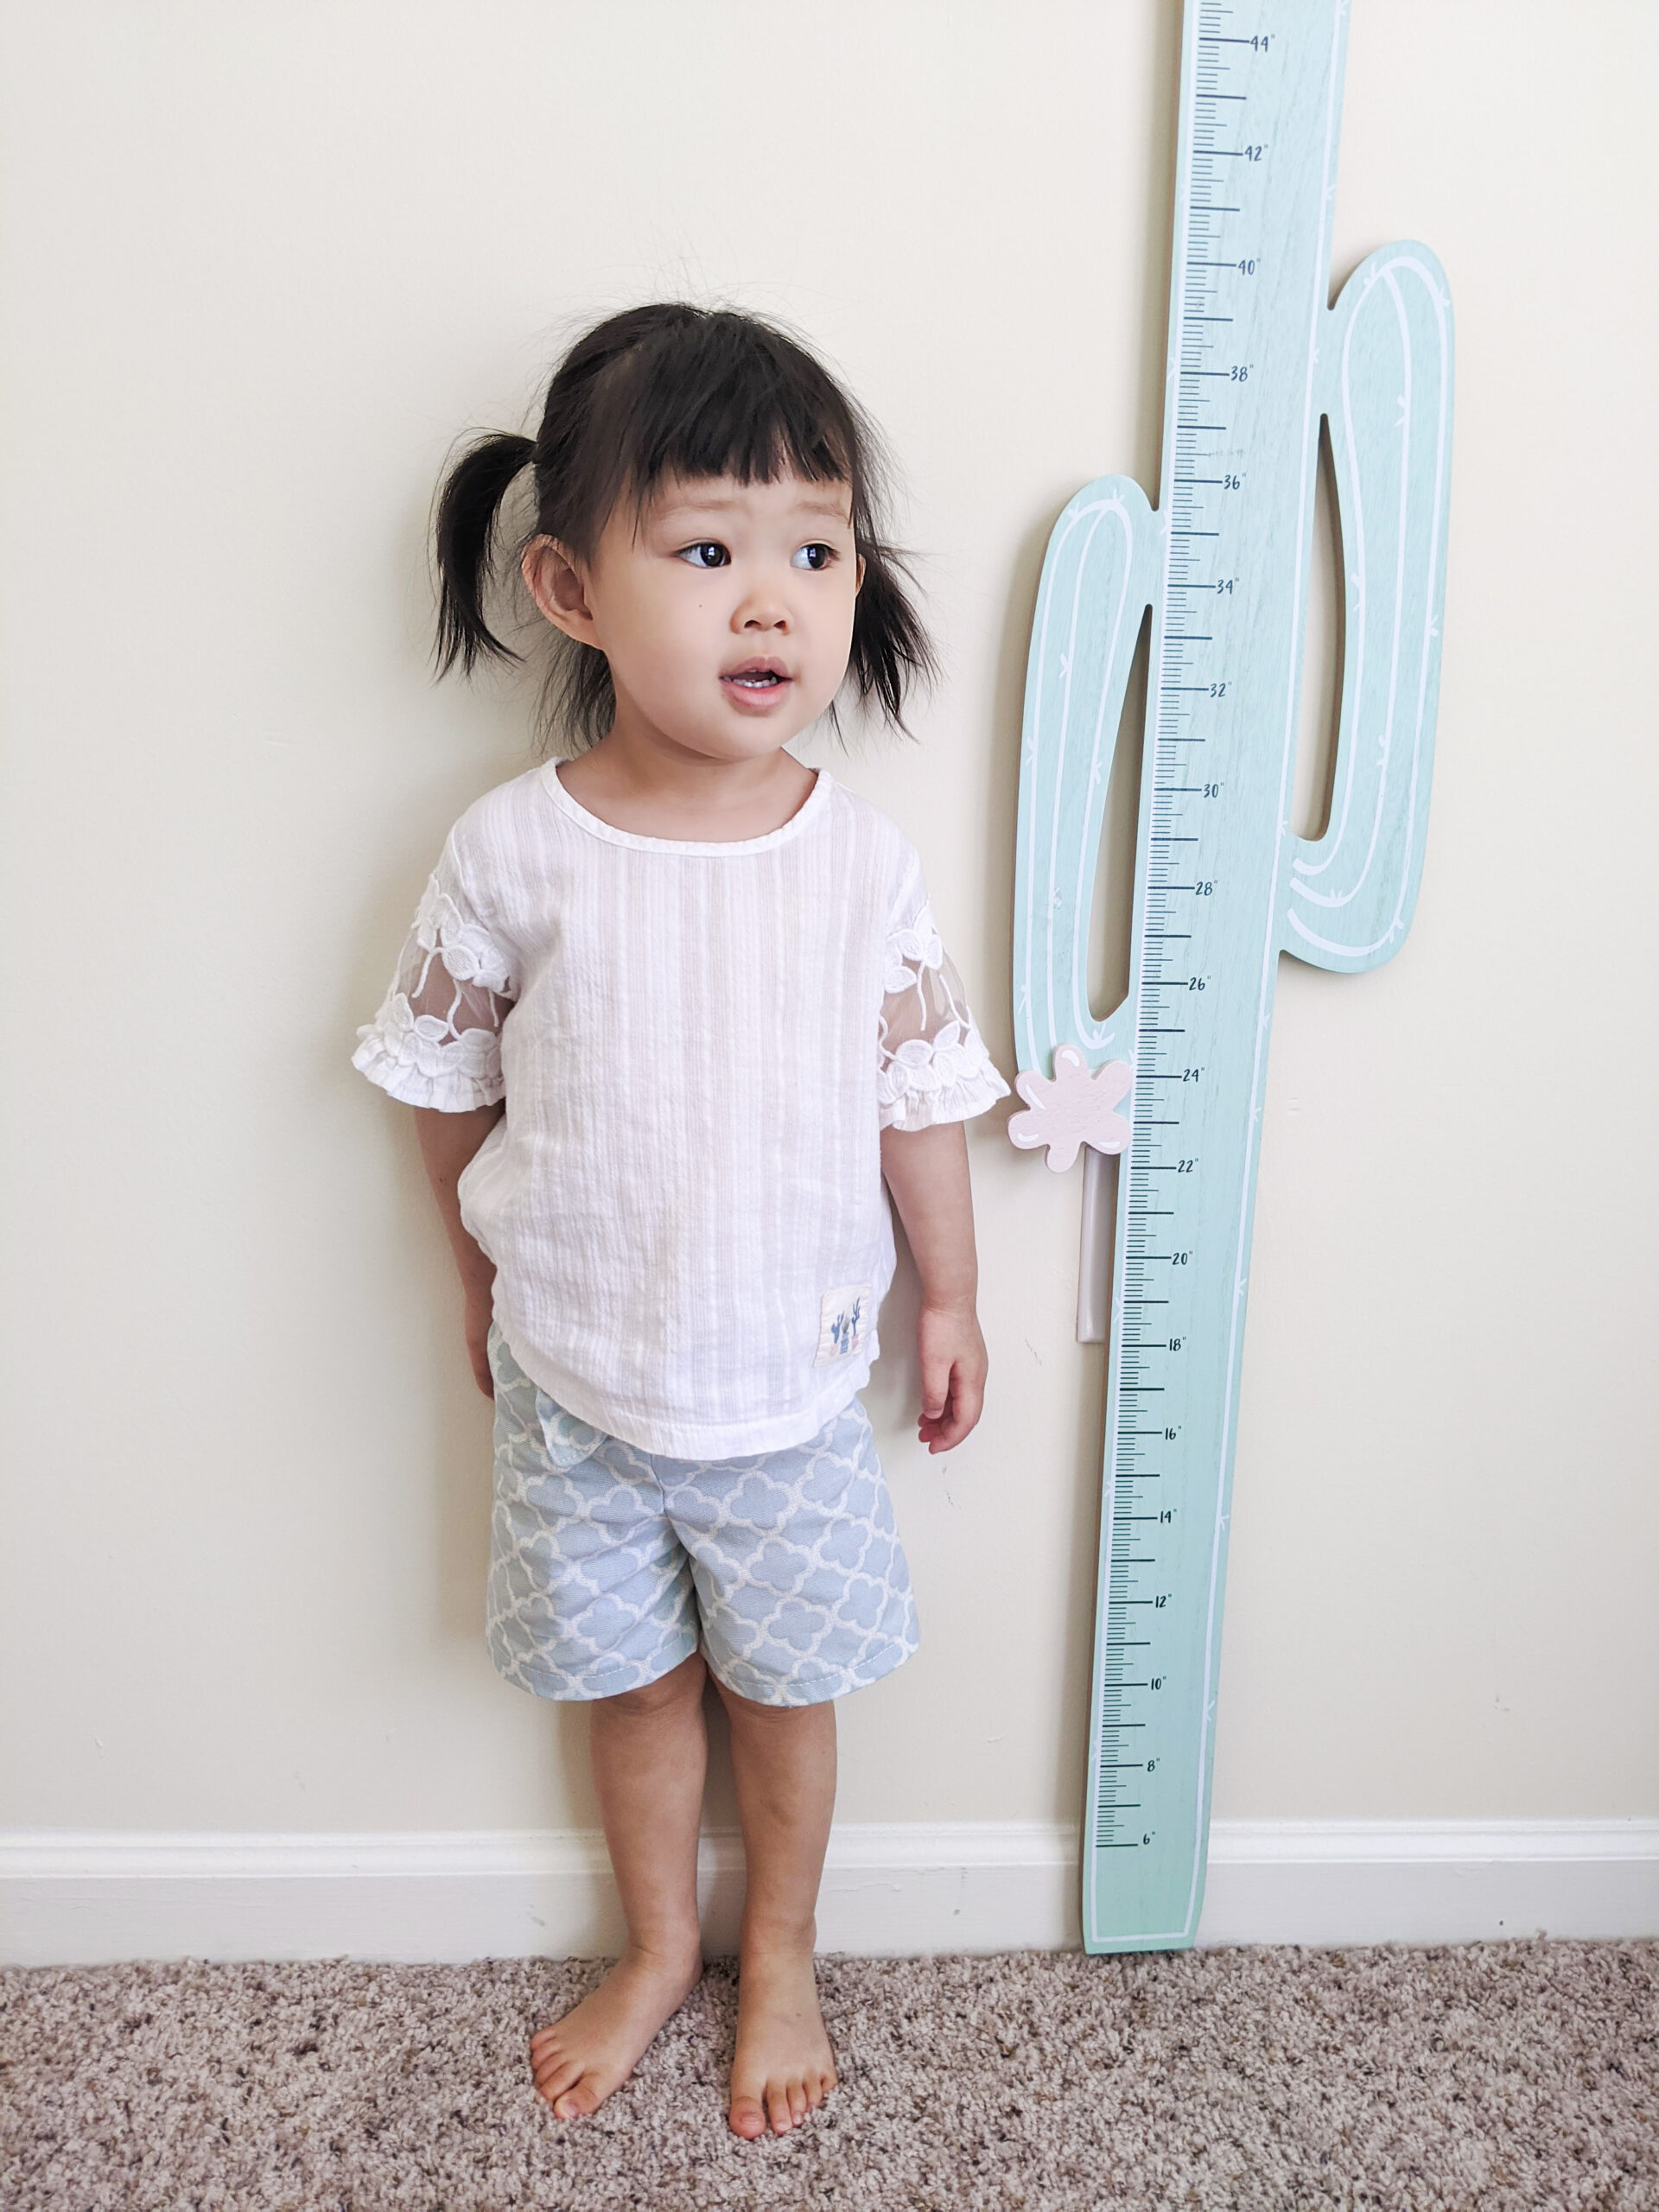
我女兒都長大了,可以嫁了…
哈哈哈,開玩笑,她才兩歲,而且她爸可不答應 (⊙口⊙;)
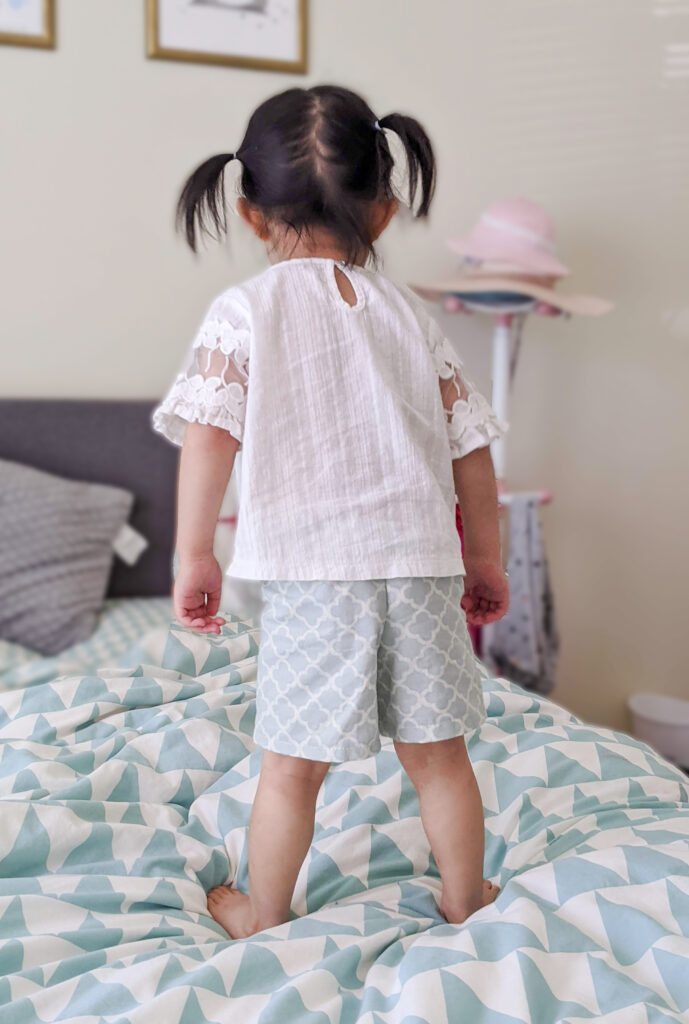
不過她最近真的是長高不少,很多衣服褲子都小了。
現在很多商店都關門,也盡量減少出去的時間…沒辦法出去給她買夏天的衣褲。
既然我在家很多時間,我決定,自己來給女兒做衣服!
之前都是把我一些不再合適的衣服改成給女兒穿…
<<< 點這裡,看我的舊衣新穿改造 “一件T恤,媽媽穿完女兒穿” >>>
這次做褲子決定MADE FROM SCRATCH(從最原始開始)!
從棉花選種開始……才怪!(╯‵□′)╯︵ ┴─┴ 翻桌啦!
我也沒那麼多閒時間。
就從沒有剪裁過的布料開始吧~ 自己打版、自己拼接、自己縫紉 ~( ̄▽ ̄)~
能有多難?!(結果是真的蠻簡單的… ^^)
以下是我的製作過程紀錄、心得跟大家分享。(不是教學呦)
真的出乎意料地簡單,很推薦跟我一樣的縫紉初學者嘗試看看!
–
It seems like it had been forever since we started staying at home all day because of the COVID-19 pandemic. Started from winter time, and now, it’s summer… My little angel has grown so much during the past few months that none of her old summer clothes fits her anymore.
While most stores being closed and we avoiding going out as much as possible… I decided to make my daughter some summer shorts!
I’m home all day, so it’s perfect for doing some DIY projects. And my daughter always gets really excited when she knows I’m going to make her some clothes. Hahaha.
I’ve been using my old clothes to make something for my daughter. It is usually turning my shirts into a dress or a top for her, but I decided to make her some summer shorts from scratch this time. Starting from selecting some seeds of good cotton plants, harvest the cotton, and weave them into threads!!!!
and TWO YEARS LATER… my daughter finally got pants to wear. LOL.
Honestly, I haven’t done much pattern making before, so I was kind of nervous about doing this. But the tutorial video on Youtube seemed easy… Well, everything looks easy in those Youtube videos… Ha.
Yeah, so here is how it went…
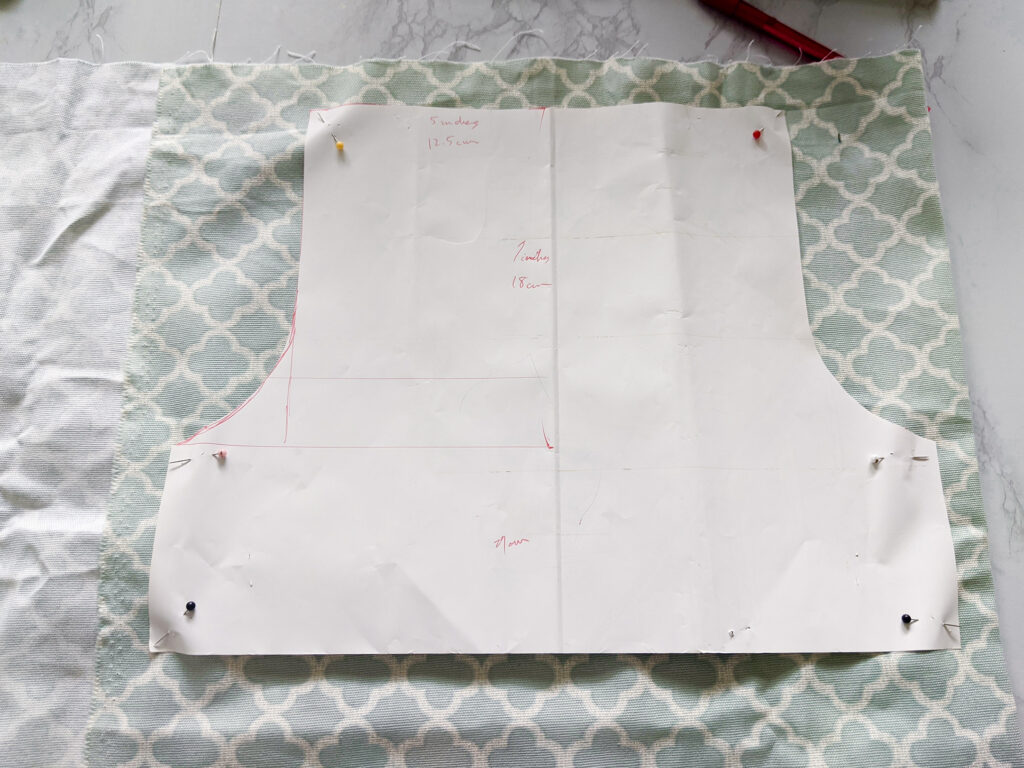
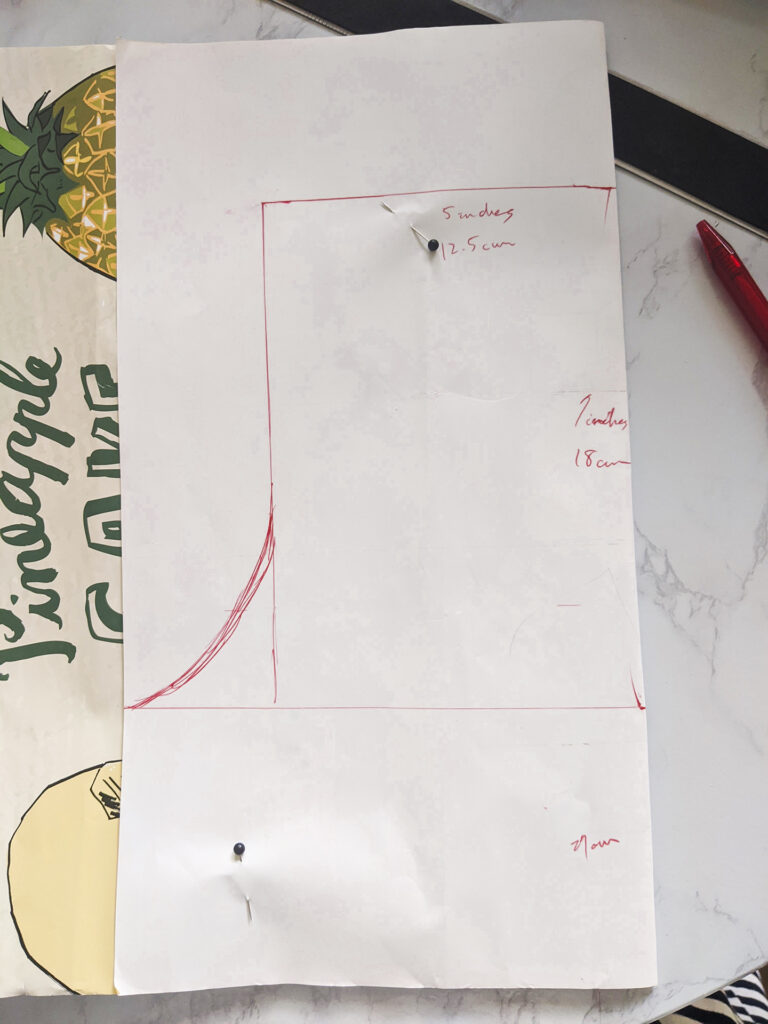
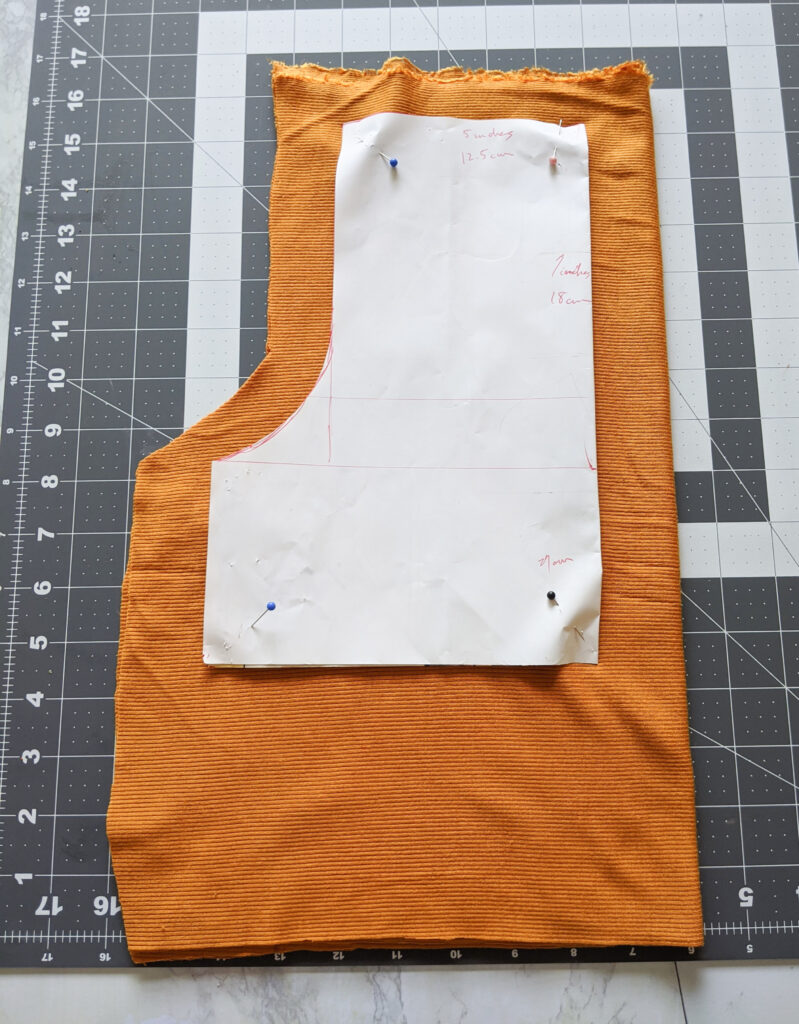
在看了幾個Youtube影片之後,學到我需要剪一個像上方圖中的形狀版型。
但我覺得像我這樣一個數學免強及格的人,要畫出一個沒有歪掉的、完美平行的圖形有點難…
經過我的“健忘媽大腦”不斷地思考,終於想出一個不會畫歪的好方法。
就是把紙對摺呀!
我真是天才哇哈哈哈
○(* ̄︶ ̄*)○
對摺以後有中心的線 (邊)輔助,讓我比較好畫出與邊垂直的水平線。
恩,這樣畫一邊、剪下來,展開以後,兩邊就會一模一樣了。
尺寸,我是參照我女兒一些褲子的尺寸。腰圍,因為要做鬆緊帶,所以我畫的比我女兒的實際腰圍大一些。
如果要褲管口不那麼窄,更有褲裙或燈籠褲的感覺,那就把版型做得更寬些。
我後來想做蓬一點褲子,就直接在剪布的時候做一些小調整就可以了,其實不需要做好幾個不同的版型。
等一下會給大家看我用這同一張版型,做出來三種不一樣的褲子。
–
After watching several Youtube videos on how to make shorts, I’d learned that I needed to make a pattern in a shape that is shown in the photo above.
The mathematical part of my brain has been covered with dust and moss… so I decided it would be easier for me to draw the perfect parallel lines if I just folded the paper in half.
The measurements… I just reference some of my daughter’s long pants. I wrote down the numbers on the paper, just in case if someone reading this needs some idea. However, each kid’s body is different… so it might not work for other 2 years old. It actually took me 2 times to get the pattern right… so don’t be frustrated if you need redraw the whole thing again.
I did learned that if I wished for the shorts to be more flowy and with more moving space, I needed to make the whole pattern wider. The shorts I made from this pattern turned out to be a bit “straight”, which was still cute and fitted my daughter perfectly, but wasn’t the style I was looking for. But I made some adjustment easily when I was cutting the fabric without needing to make different pattern. I will show the variations later in this blog post.

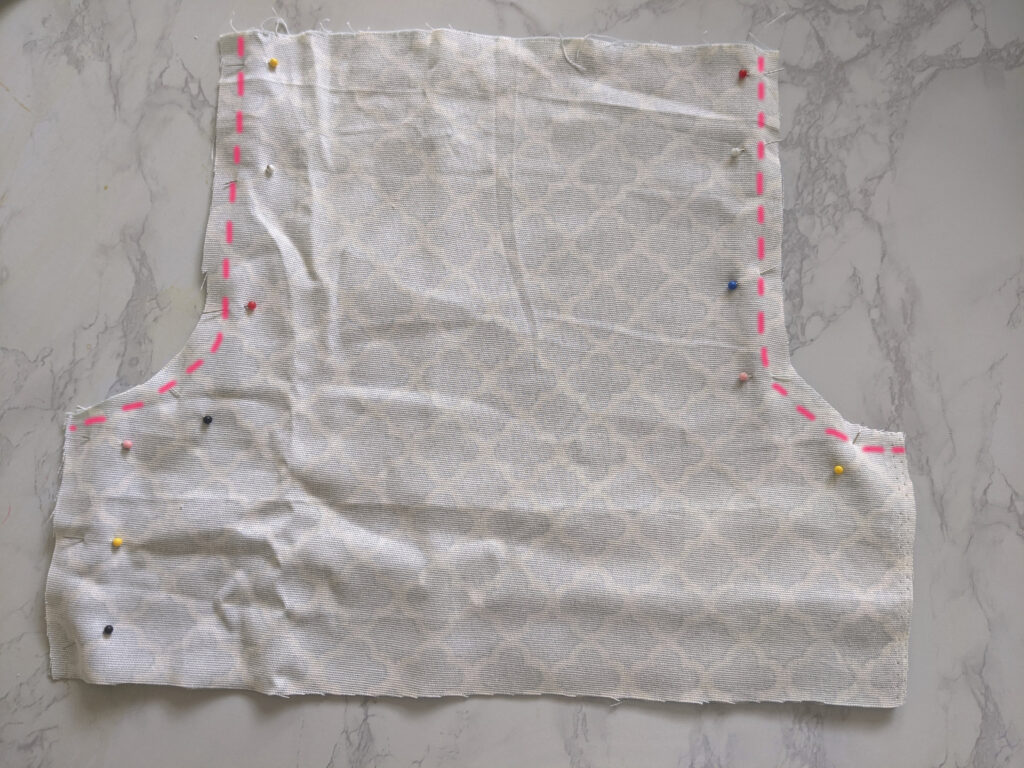
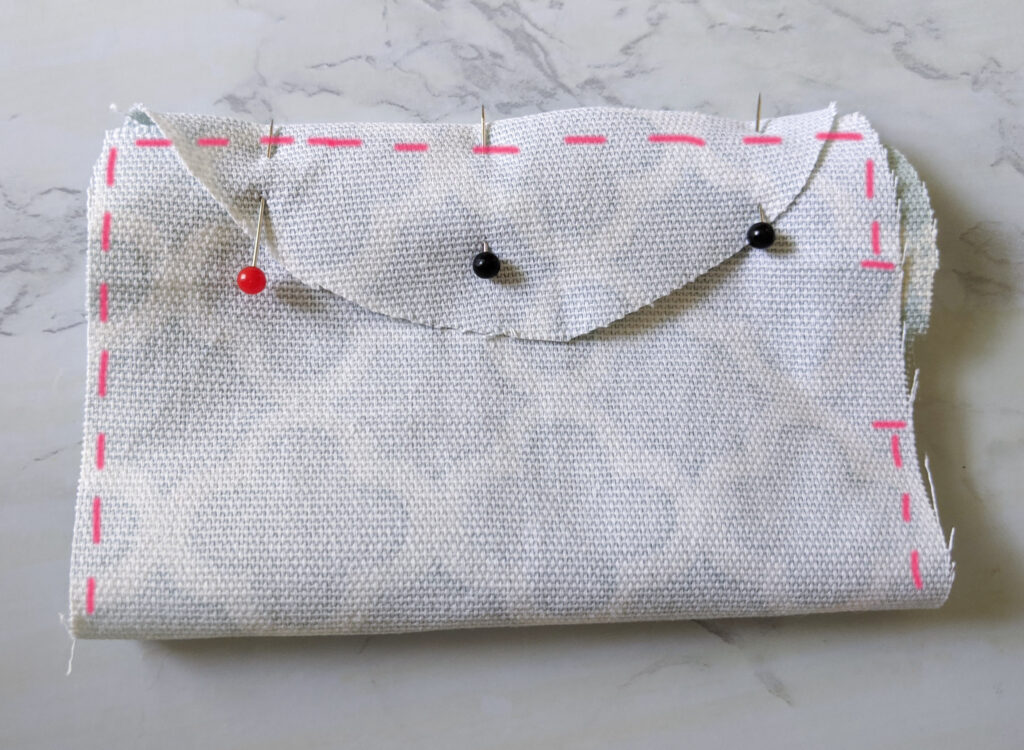
我把版型用大頭針別在對摺的布上。對,要確定布是兩層,一次剪兩片,這樣褲子兩邊才會一模一樣。
順著版型的邊,留1公分,把布剪下來。剪好以後,我把兩片布,正面朝內,疊放在一起。然後把上圖中畫紅線的地方縫起來。
–
I folded the fabric, so I could cut two layers at the same time, and put the pattern on top it. After pinning everything together, I cut along the edge of the pattern, leaving around 0.5 inch of seam allowance.
I put the two pieces together with the right side facing inward, and sewed where I drew pink lines in the photo above. (Heeh pardon my vocab limitation… I have no idea what those parts are called…)
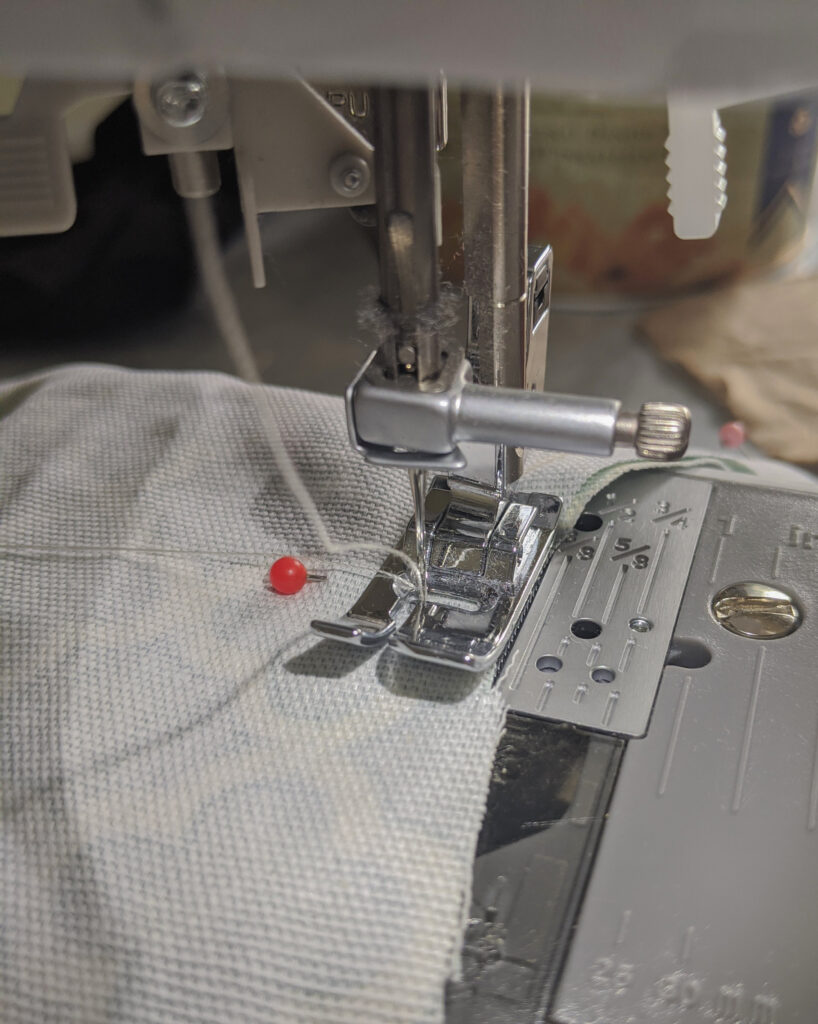
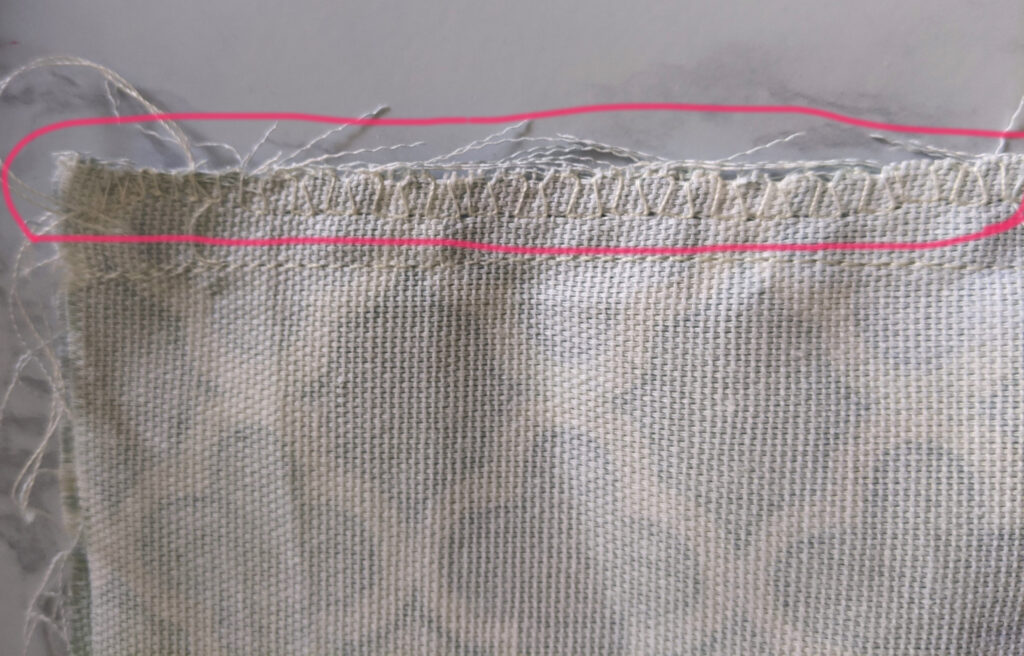
因為我這塊布料會脫線,所以我把布邊都車上鋸齒型的線。
不然可能洗幾次,這件褲子就不見了…哈哈哈。\(“▔□▔)/
–
To prevent the fabric from fraying, I did some zigzag stitches along the edges. Haha I didn’t want this pair of shorts to come undone after a few washes in the washing machine.
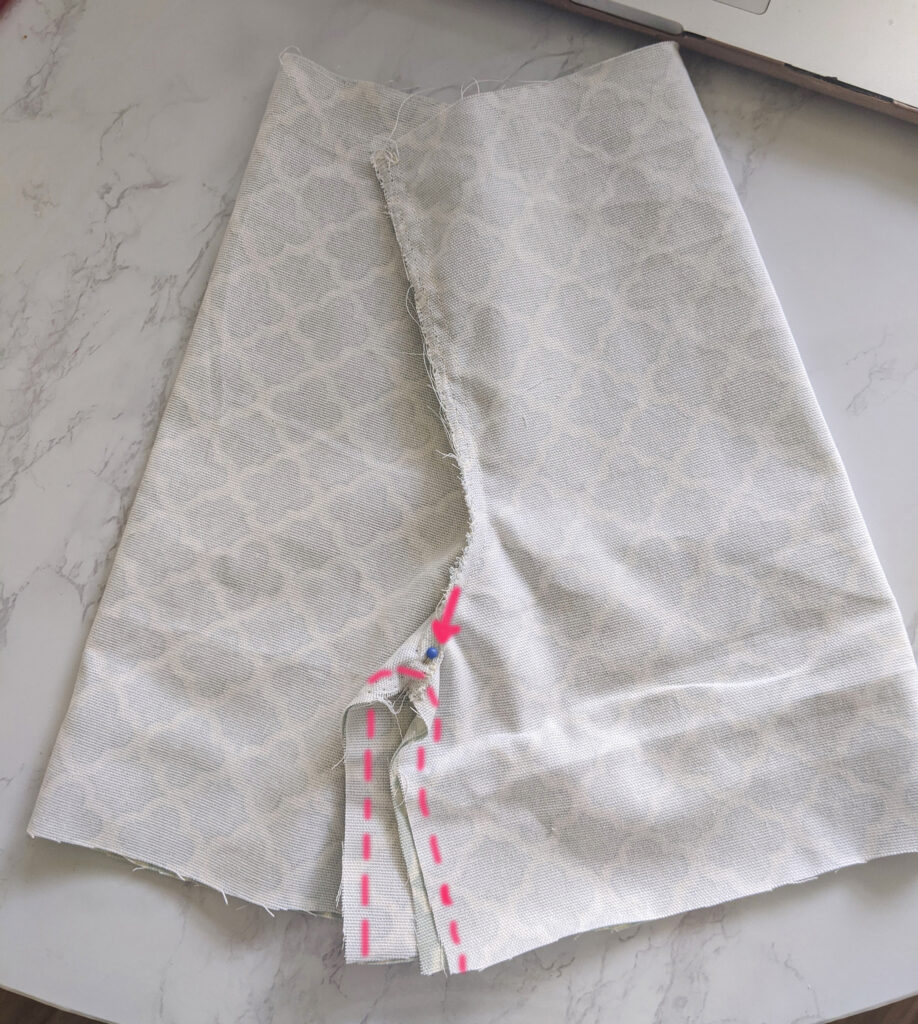
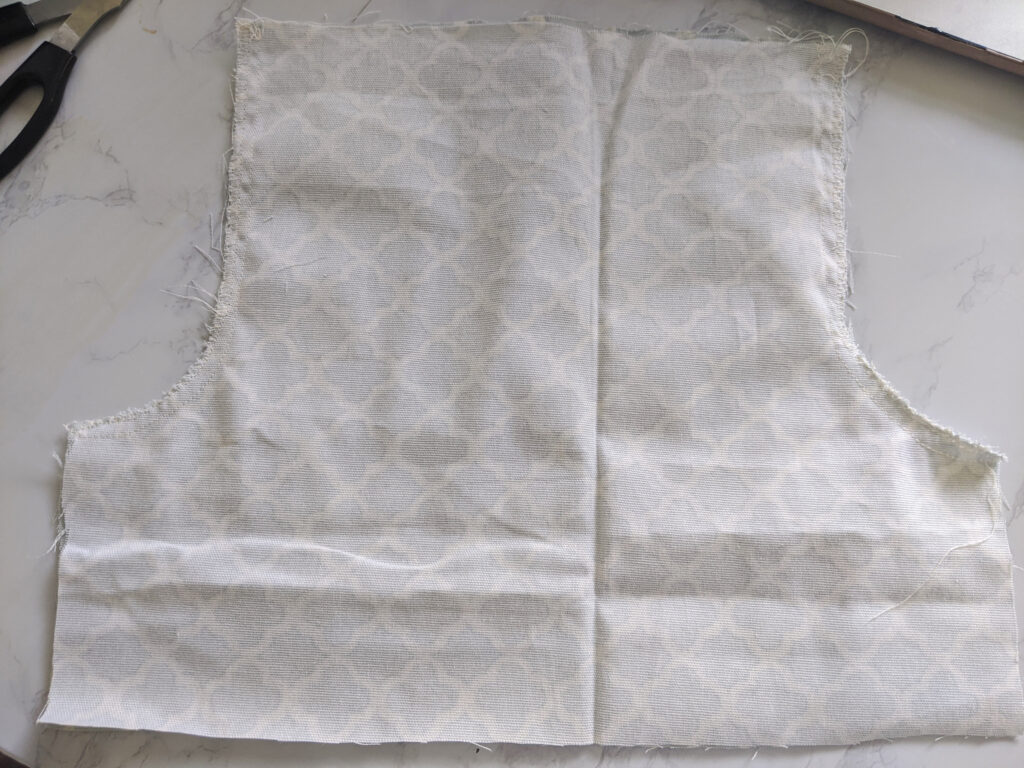
接下來就是把兩片布,捏住中間,拉開,變成剛剛的縫線在中間。現在就是一件褲子的模樣了。
把兩片布的中線對好,用大頭針固定住,褲管對齊,然後也用大頭針固定住。
沿著拱形的邊(上圖畫紅線的地方)縫起來。
記得也要車布邊,不然會脫線呦。<(  ̄^ ̄)>
–
Ahhh I wish I made a video to show this part… It’s so difficult to describe what I did here with written words. If you don’t get what I’m saying, just find a tutorial video online. Heeh.
I opened up the two pieces of fabric, and make the sewed edges being in center. Yeah, and it looked sort of like a pair of pants now!
I matched the center seams and the leg edges, used pins to hold them together, and sewed the “arch” part (where I drew pink lines) together. And I did zigzag stitches on the edge.
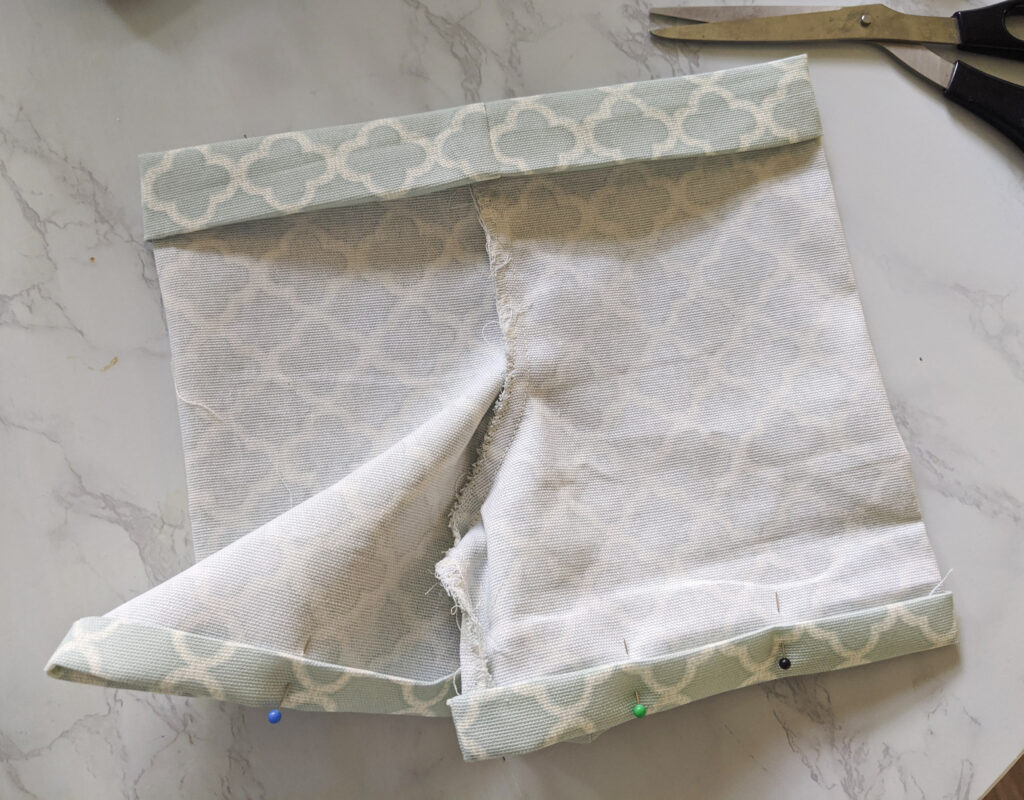

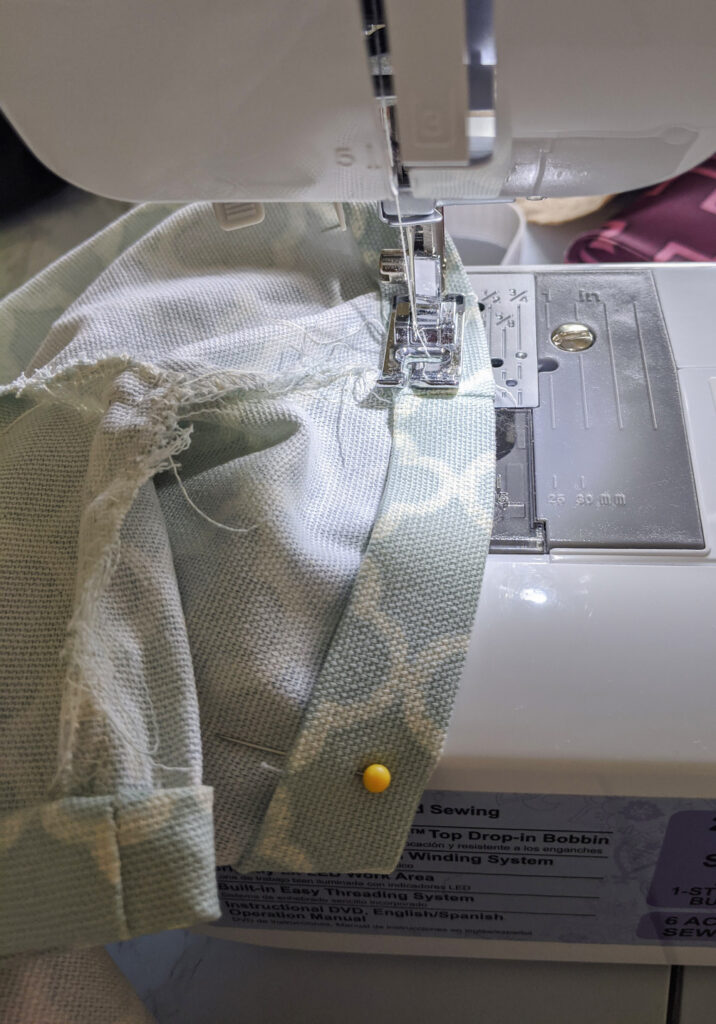
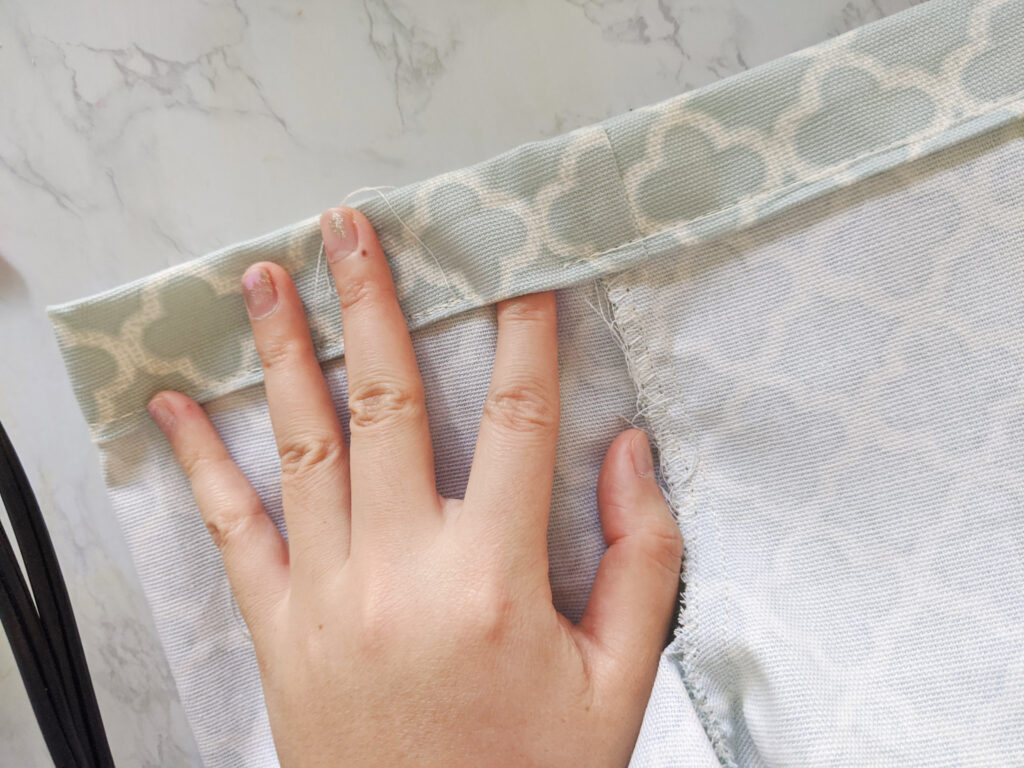
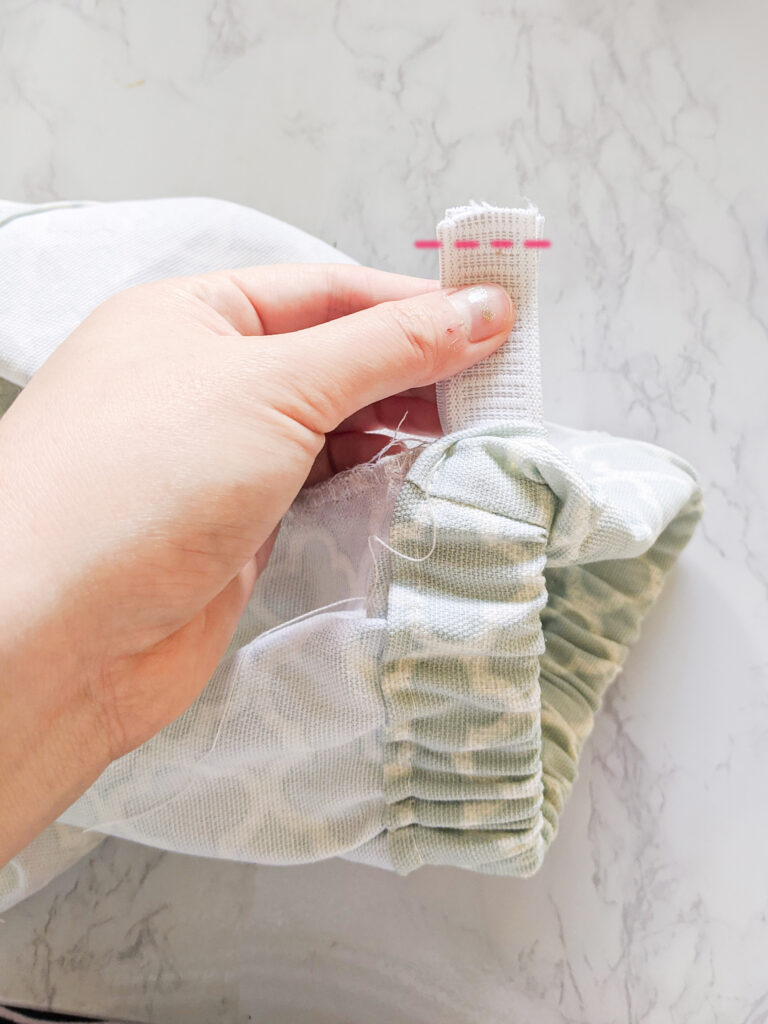
腰部和褲管的邊我都把它往內摺(摺兩次,才可以把鬚鬚的布邊包起來)。
用熨斗燙定型,沿著邊車起來。
但腰部的地方,我留了一個三公分左右的缺口,等一下放鬆緊帶用。
啊對了,記得腰部往內摺的空間要比鬆緊帶的寬度再寬一些呦,不然放不下鬆緊帶。
–
I folded in twice and pressed with iron at the edges of the waist and legs. Then I realized, it probably would have been easier if I have done the press over before I first sewed the two pieces of fabric together… It’s not easy to make an even press over in a closed loop…… Well life is full of regrets! and I can live with this one~ MOVE ON!
I sewed the part where it was folded in. But I left an one inch opening when I was doing the waist. I needed the opening for the elastic band later.
Oh make sure the space for the elastic band is wide enough. I didn’t check beforehand, but luckily I left enough space. Phew~! It isn’t fun to undo the stitches…
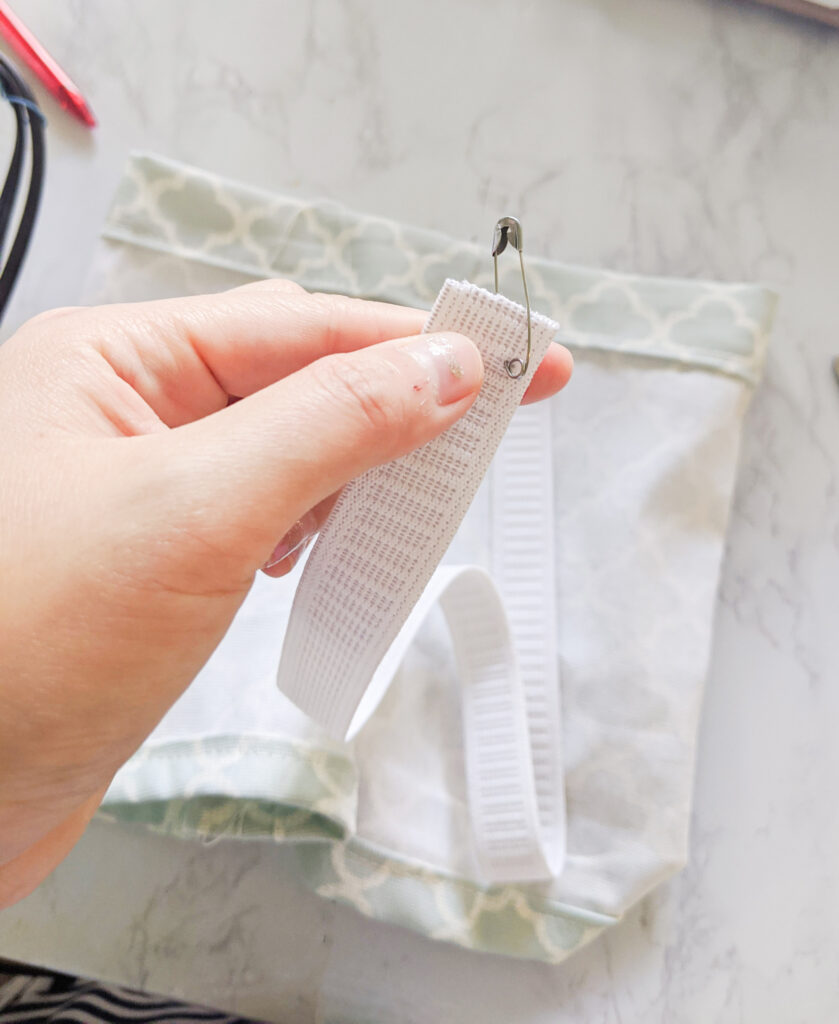

我把鬆緊帶套在我女兒的腰間,大約看一下需要多長的鬆緊帶。
把鬆緊帶的一頭穿上一個大大的安全別針,用來帶頭。這是穿鬆緊帶的小技巧,不然真的很難很難穿… (⊙_⊙;)
鬆緊帶整個穿過去以後,把兩頭縫在一起。在縫之前記得檢查一下,鬆緊帶在褲腰中間的部分有沒有翻轉,一定要是平順的呦。
把擠在一起的褲腰拉開,多出來的鬆緊帶就會從小缺口才進去了!然後再把缺口補起來。
–
I put the elastic band around my daughter’s waist to see how long I needed it to be. After cutting it at the length I wanted, I put a safety pin on one end of it.
It’s SOOOO easy to pull the elastic band through with a safety pin! I wish I knew this trick earlier… I used to struggle so much… 🙁
After the whole elastic band was through, I sewed the two ends together. I pulled on the waist to make the extra band hide in through the opening, and sewed up the opening.
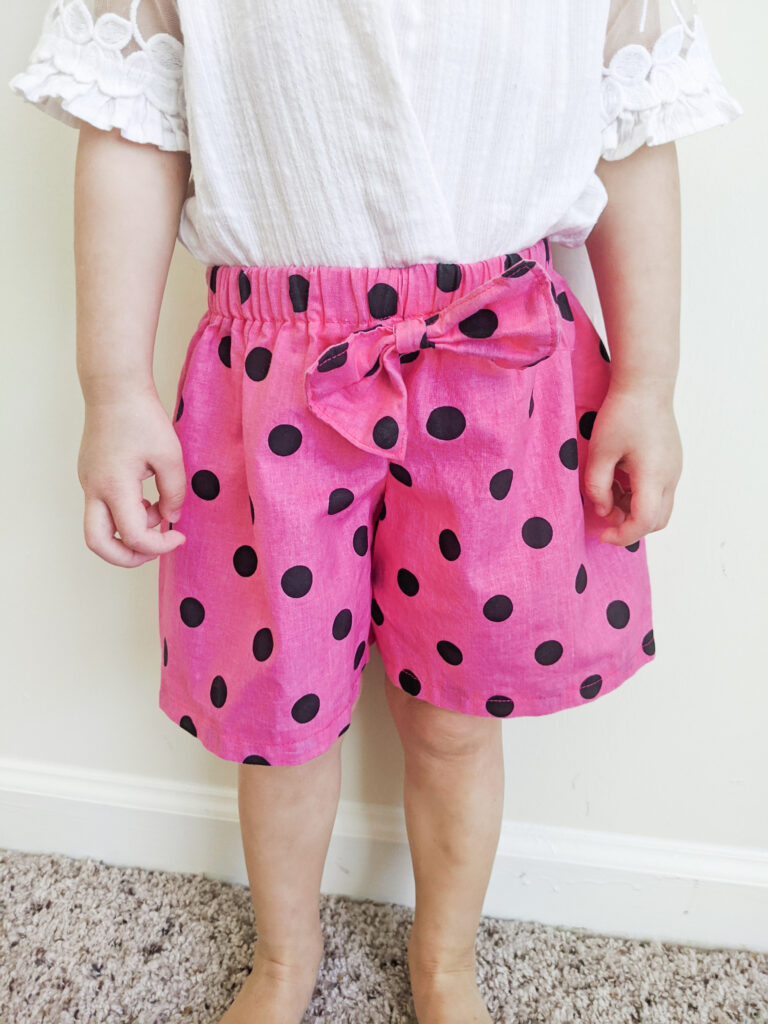
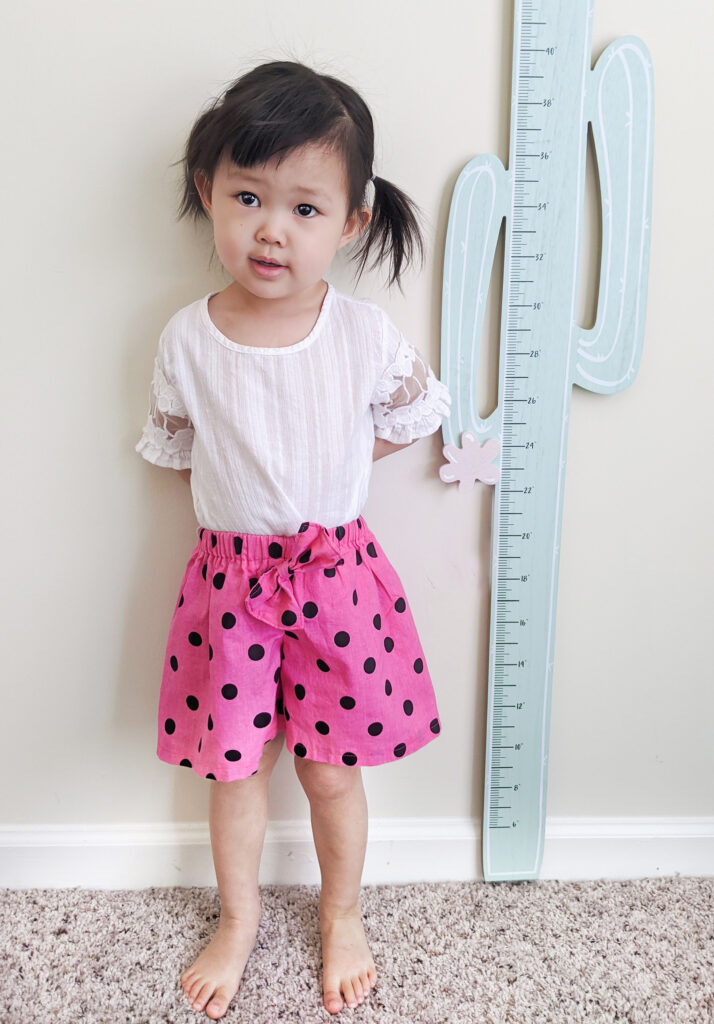
褲子已經做好了!但我想再加一個蝴蝶結。(我就用剛剛剪的碎布做一個)
因為我超超超超喜歡蝴蝶結的!
我結婚時的婚紗背後也有一個超級大蝴蝶結。 ^口^
蝴蝶結就是可以提升可愛度咩~~~
–
Even though the shorts were done, I decided to add a bow to it. (I made one from the scrap pieces)
I just love bows so much!
I had a gigantic bow on the back of my wedding dress. heeh 😀
Bows just elevate the cuteness of everything.
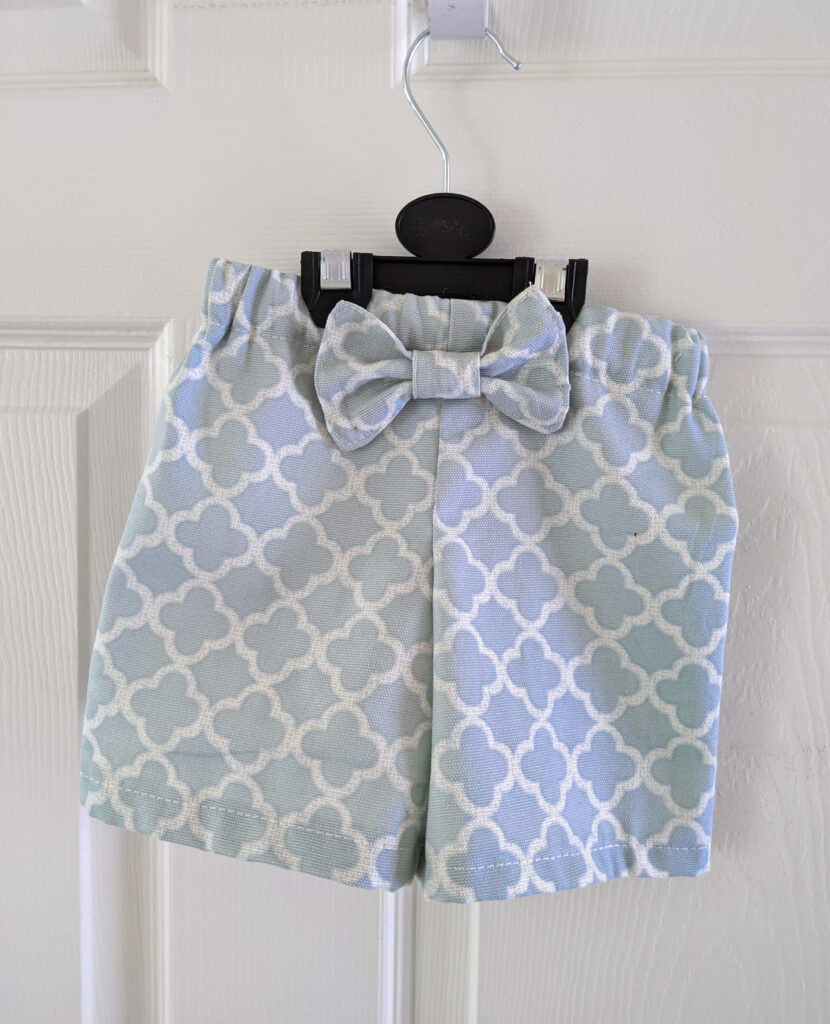

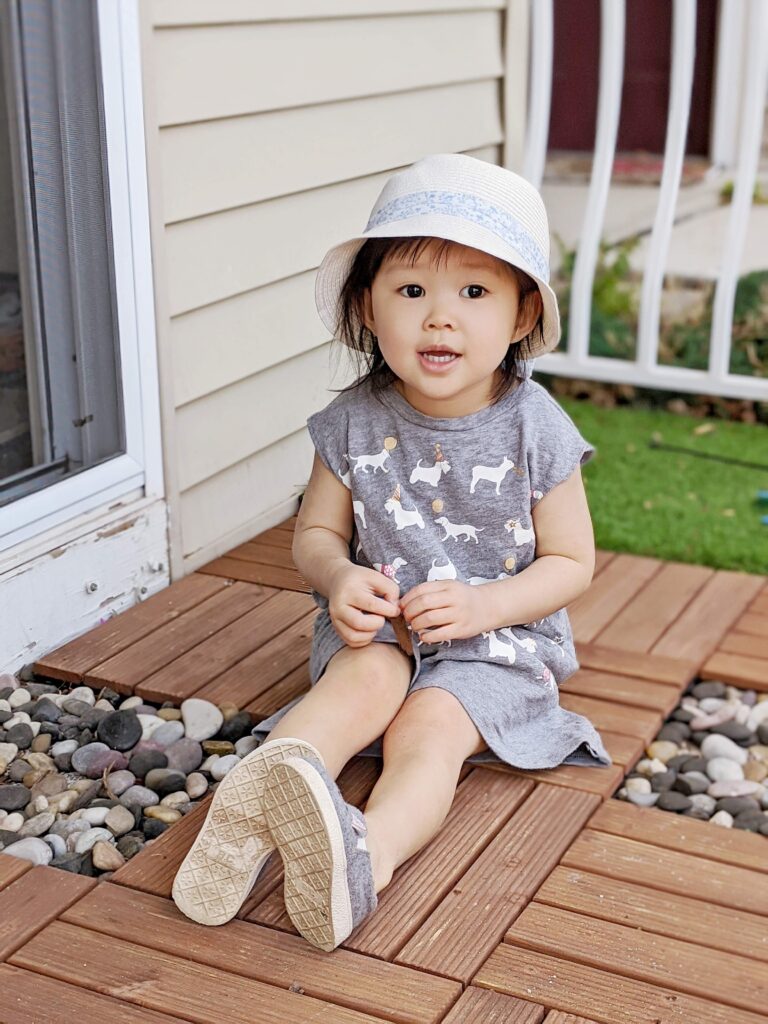
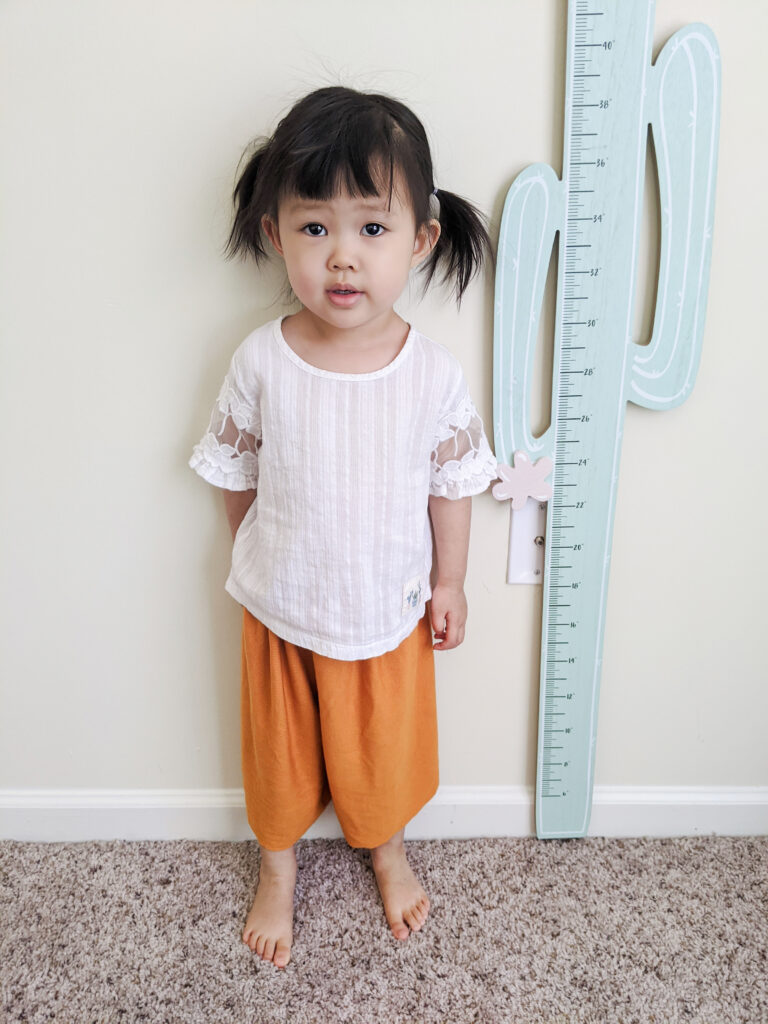
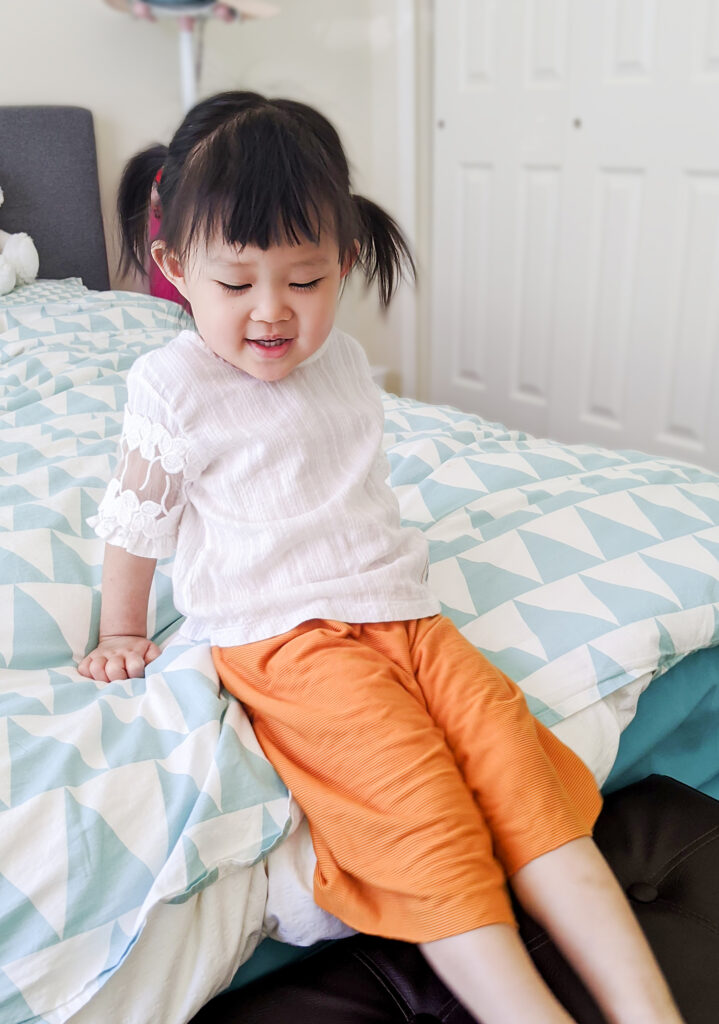
是不是很可愛呢? (^//v//^)
Isn’t she cute? (Well she’s cute in any outfit. heeh heeh.)
這個版本我把褲子做得寬一點(鬆緊帶長度不變),更有蓬蓬褲的感覺。
然後還是加了一個蝴蝶結嘻嘻。
Using the same pattern, but just making the whole thing wider, I made a second pair of shorts. This one is more like the shape of a skirt, and I added a bow to it too! 🙂
這件是寬口七分褲。(還是用同一個版型,自己做一些加長之類的調整)
And I made another boho chic wide leg pants. Look at me using some fancy fashion words. Hahahahahaha.
As you can see, I just used the same pattern I made.

我喜歡縫縫補補,對我來說很舒壓。~( ̄▽ ̄)~
我壓力大時,縫一件東西,心情就會好很多。
(話說最近好像縫了很多件東西吼…呵呵)
也感謝我女兒,每次我在縫東西,她都可以了自己在旁邊讀書或玩玩具。
讓媽媽有機會放鬆一下。真是個好寶寶!
Sewing helps me destress, so I really enjoy doing it. Well, I’ve been sewing something every two days… I guess I have been really stressed lately. Huh.
I’m really grateful for my daughter that she can read and play quietly on her own while I do some sewing to destress. And she always loves everything I made for her. She’s wonderful.

看我其他的DIY文章:
Read about other DIYs I’ve done:
>>>第一次嘗試打版 – 給我的廚房小幫手做圍裙 EASY APRON DIY – A GIFT FOR MY BEST HELPER
>>> 為女兒做的第一件洋裝 MY DAUGHTER’S FIRST DRESS
>>> 牛仔洋裝:帥氣風改成甜美風 FROM COOL to CUTE: I REFASHIONED MY DENIM DRESS